
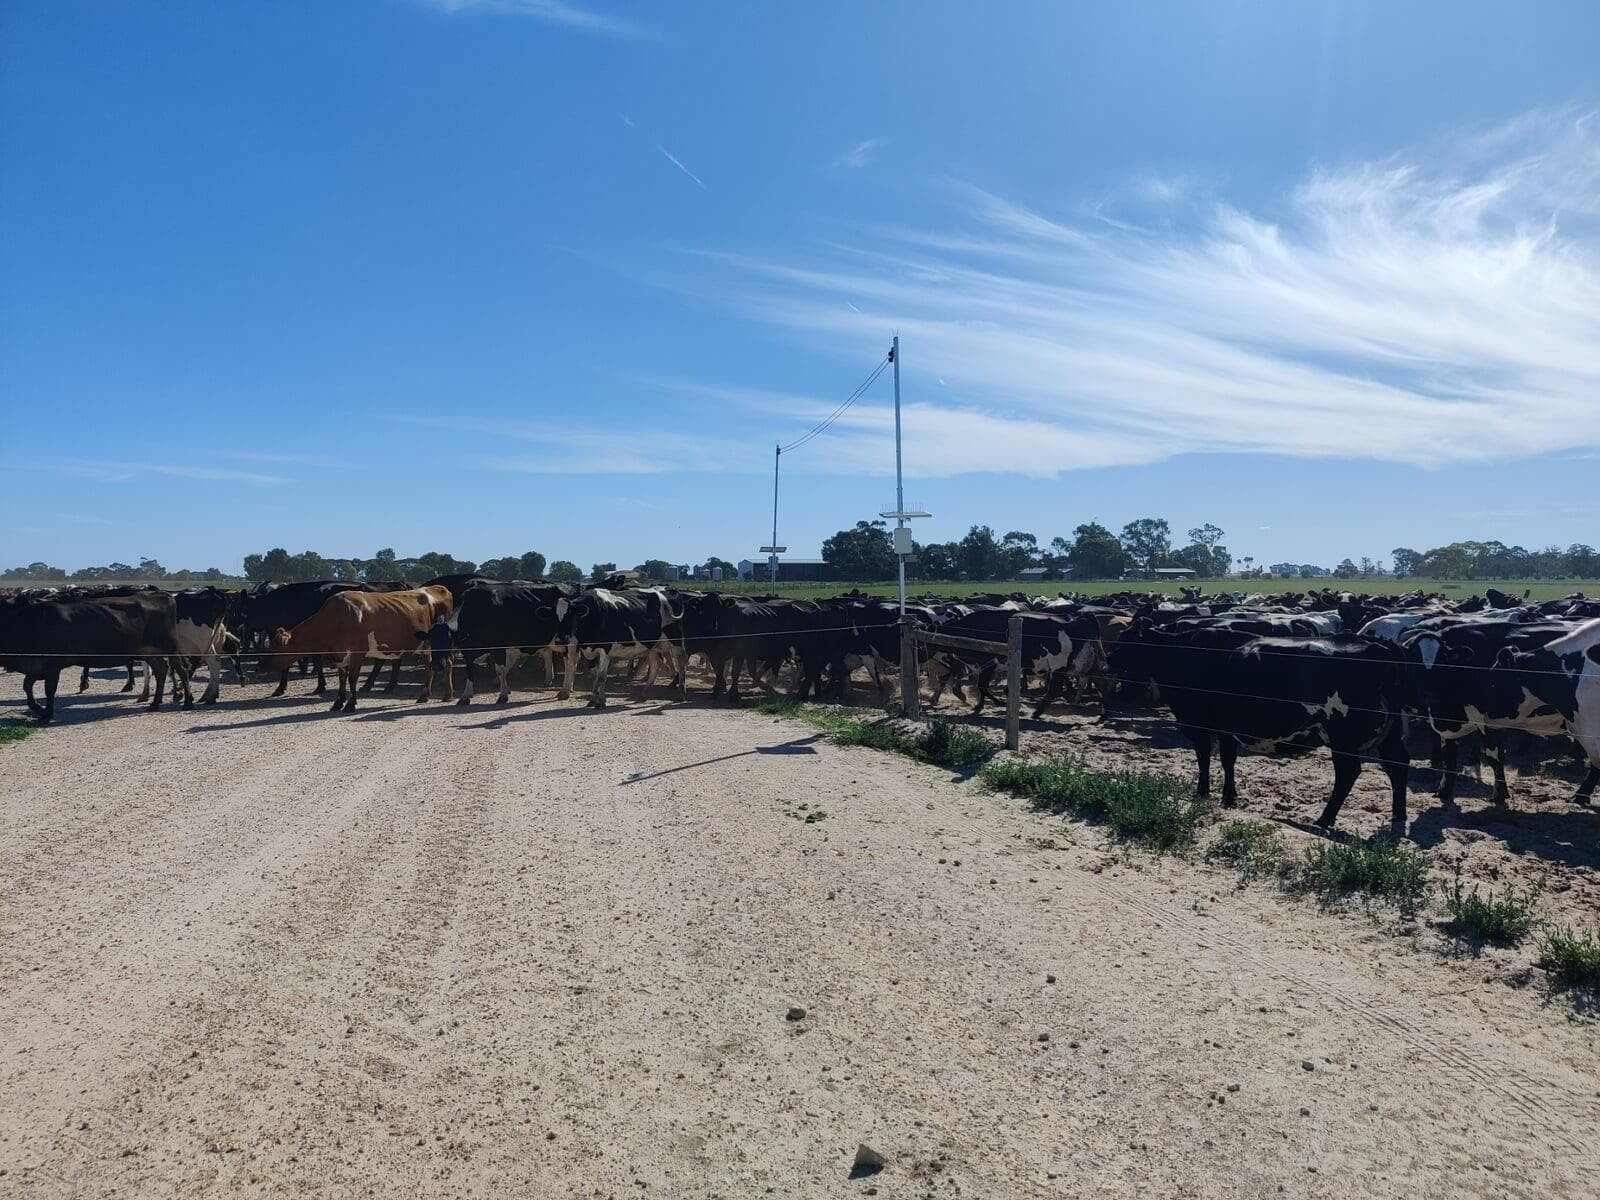
How to Install an Automated Farm Gate
The official manual contains 19 installation steps. A typical installation takes 45 to 60 minutes per UpGate after the site and posts are ready.
Download the full manualBefore you drill the post
The installation starts with site suitability, not assembly. Confirm the full requirements in the manual for your exact gateway.
- Posts at least 6 m apart
- Posts within 3 degrees of level
- At least 15 m from power lines
- 4 to 6 hours of daily sun
- Electric-fence isolator near the UpGate
- No public-road installation
The 19 manual steps, grouped into 6 stages
This overview helps you plan the job. Follow the illustrated manual for bolt locations, belt routing, control settings and electrical connections.
Stage 1
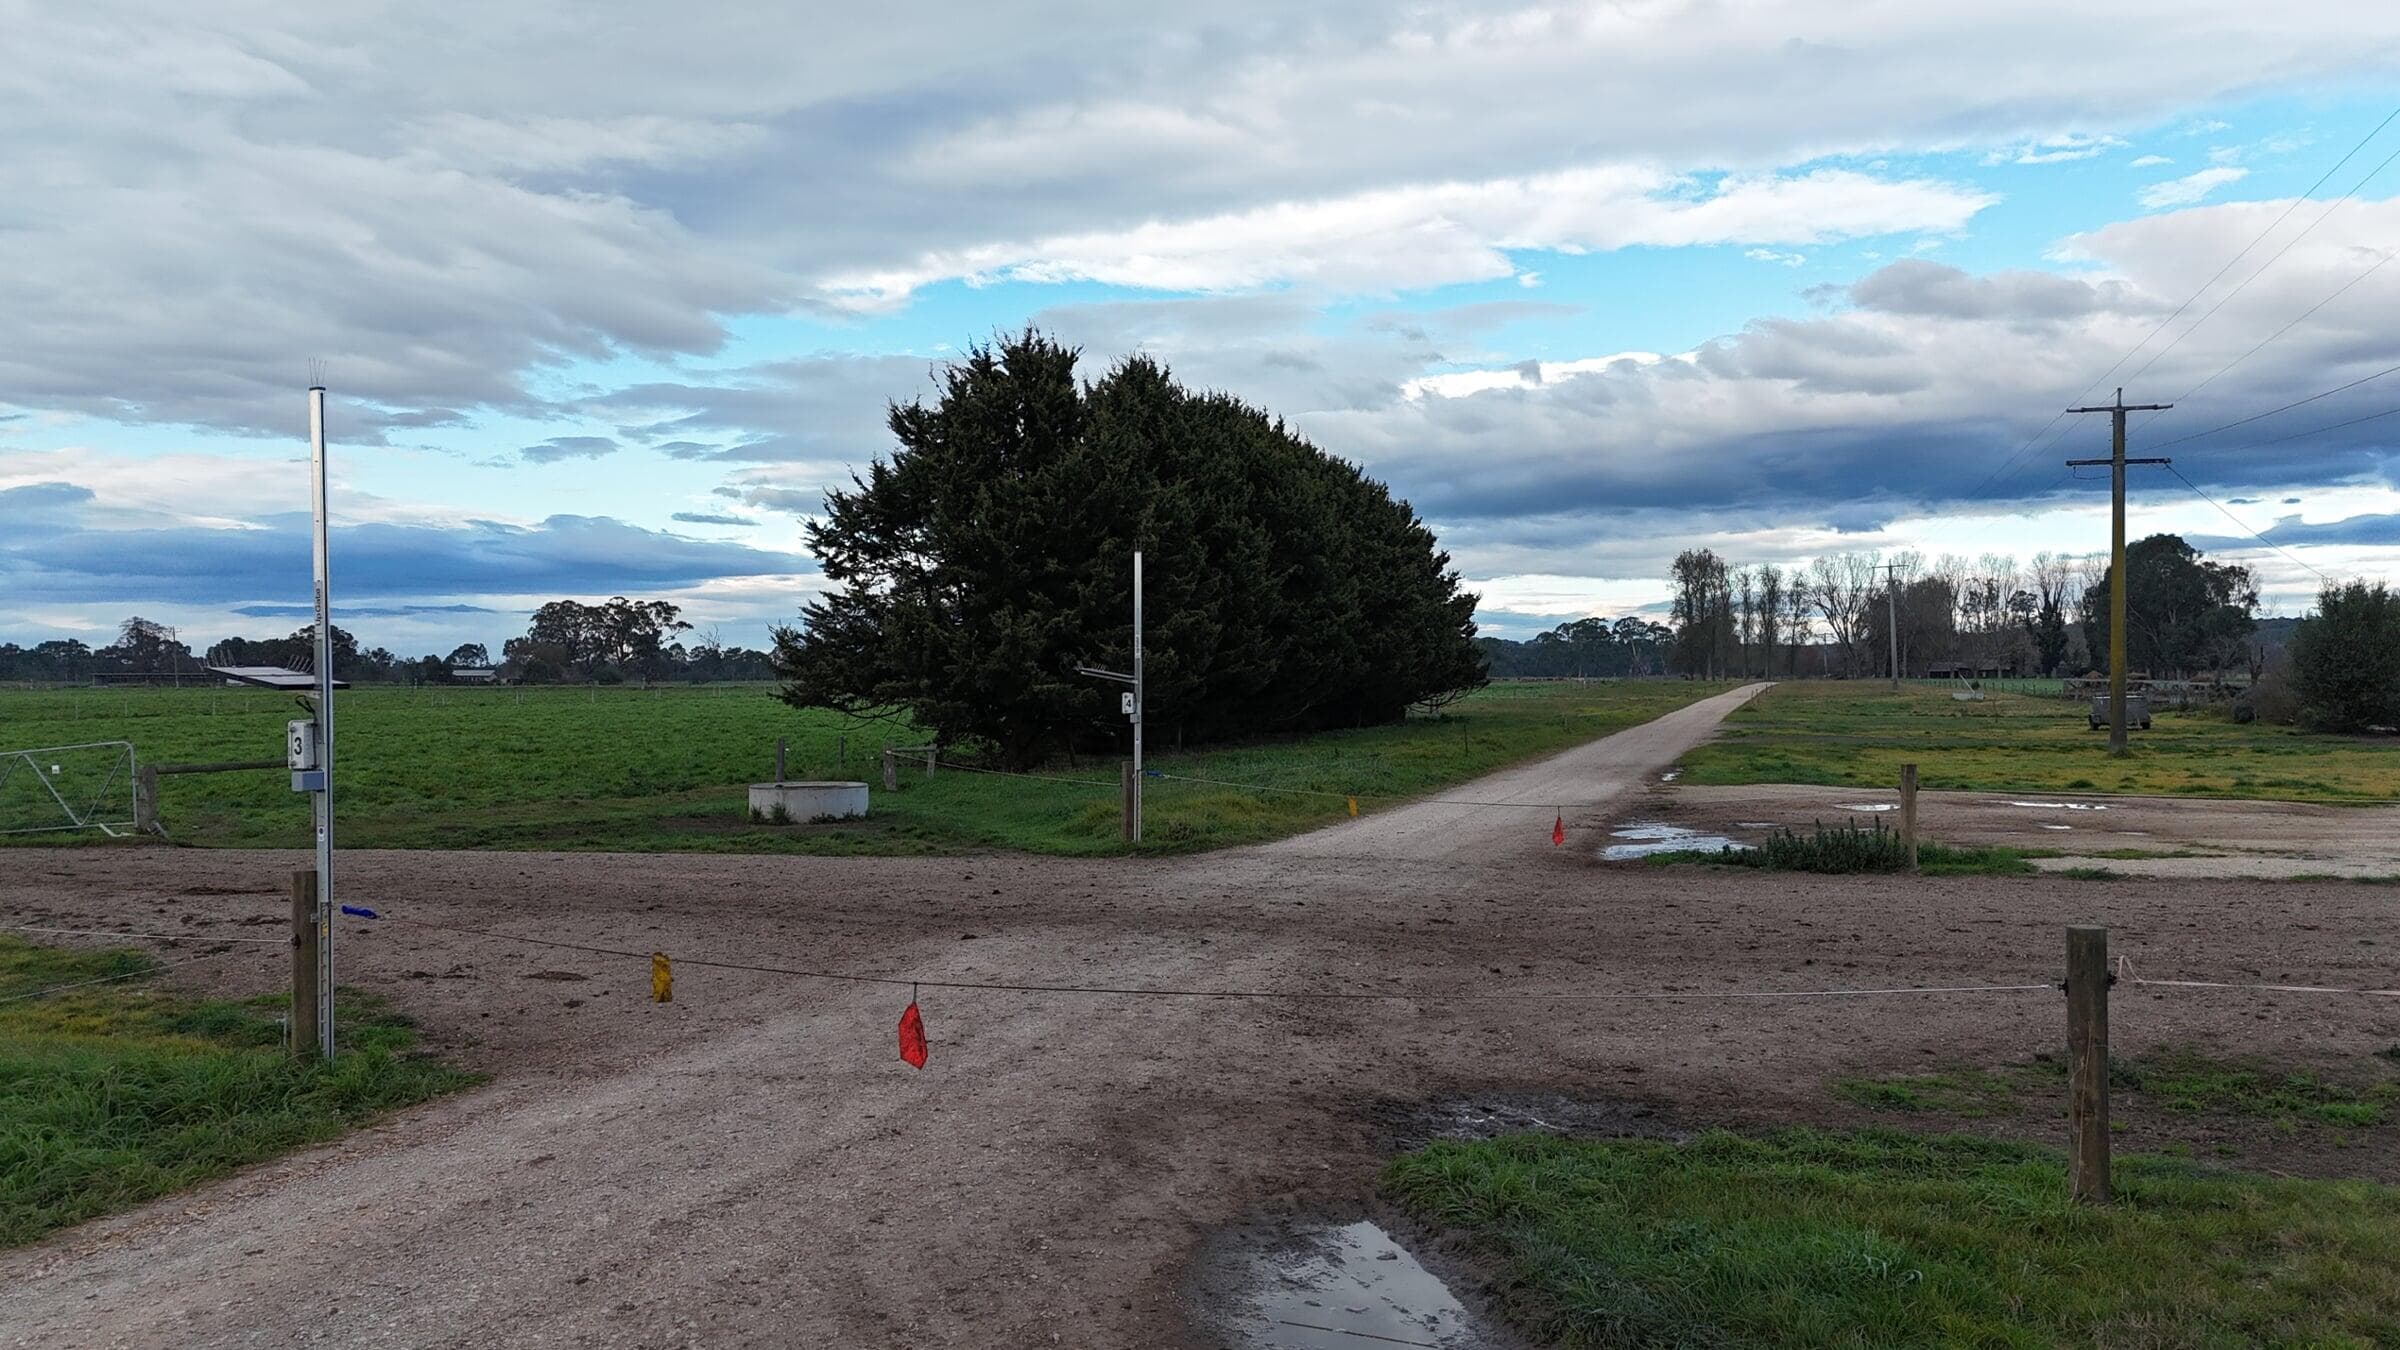
Check the site first
Use sound posts at least 150 mm in diameter, 1,000 mm above ground and 1,200 mm below ground. Keep at least 15 m clear of power lines and allow 4 to 6 hours of sun each day.
Stage 2
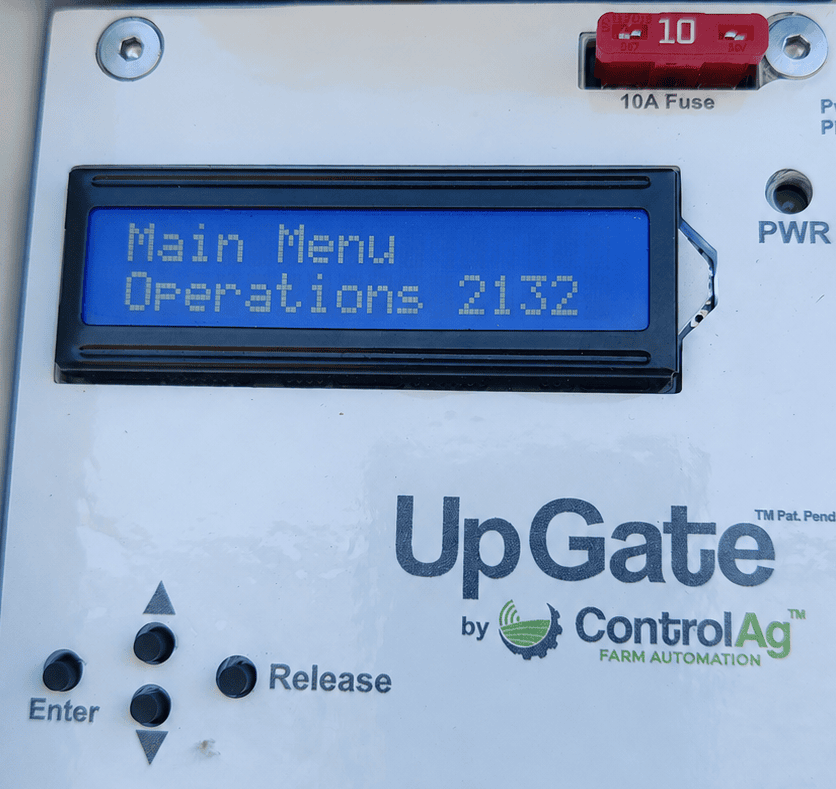
Assemble the track and solar arm
Join the track sections without twisting the belt, fit the solar arm in the correct direction and install the required shuttles in order from 1 to 4.
Stage 3
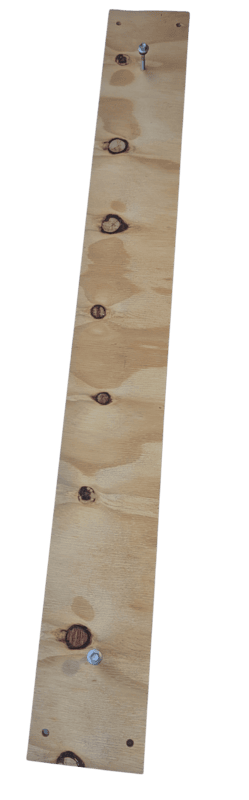
Mark and mount the UpGate
Use the post template to drill four holes. Two people rotate the assembly into place in winds below 10 km/h, then secure it with the supplied coach bolts.
Stage 4
Connect the working parts
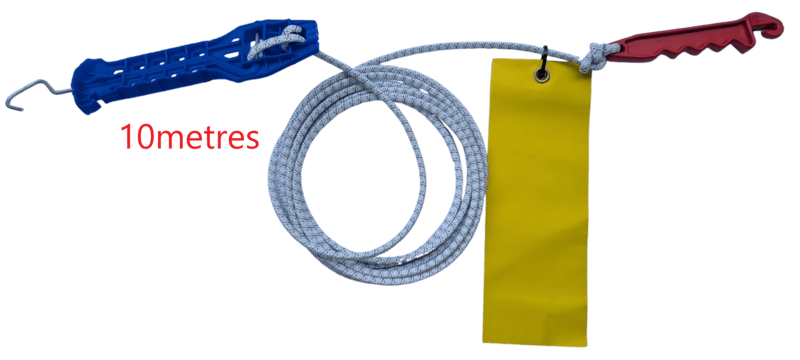
Install the earth stake, connect the battery, fit each bungy cord with at least 10 mm of sag per metre of gateway width, and attach the yellow visibility flag.
Stage 5
Set height and controls
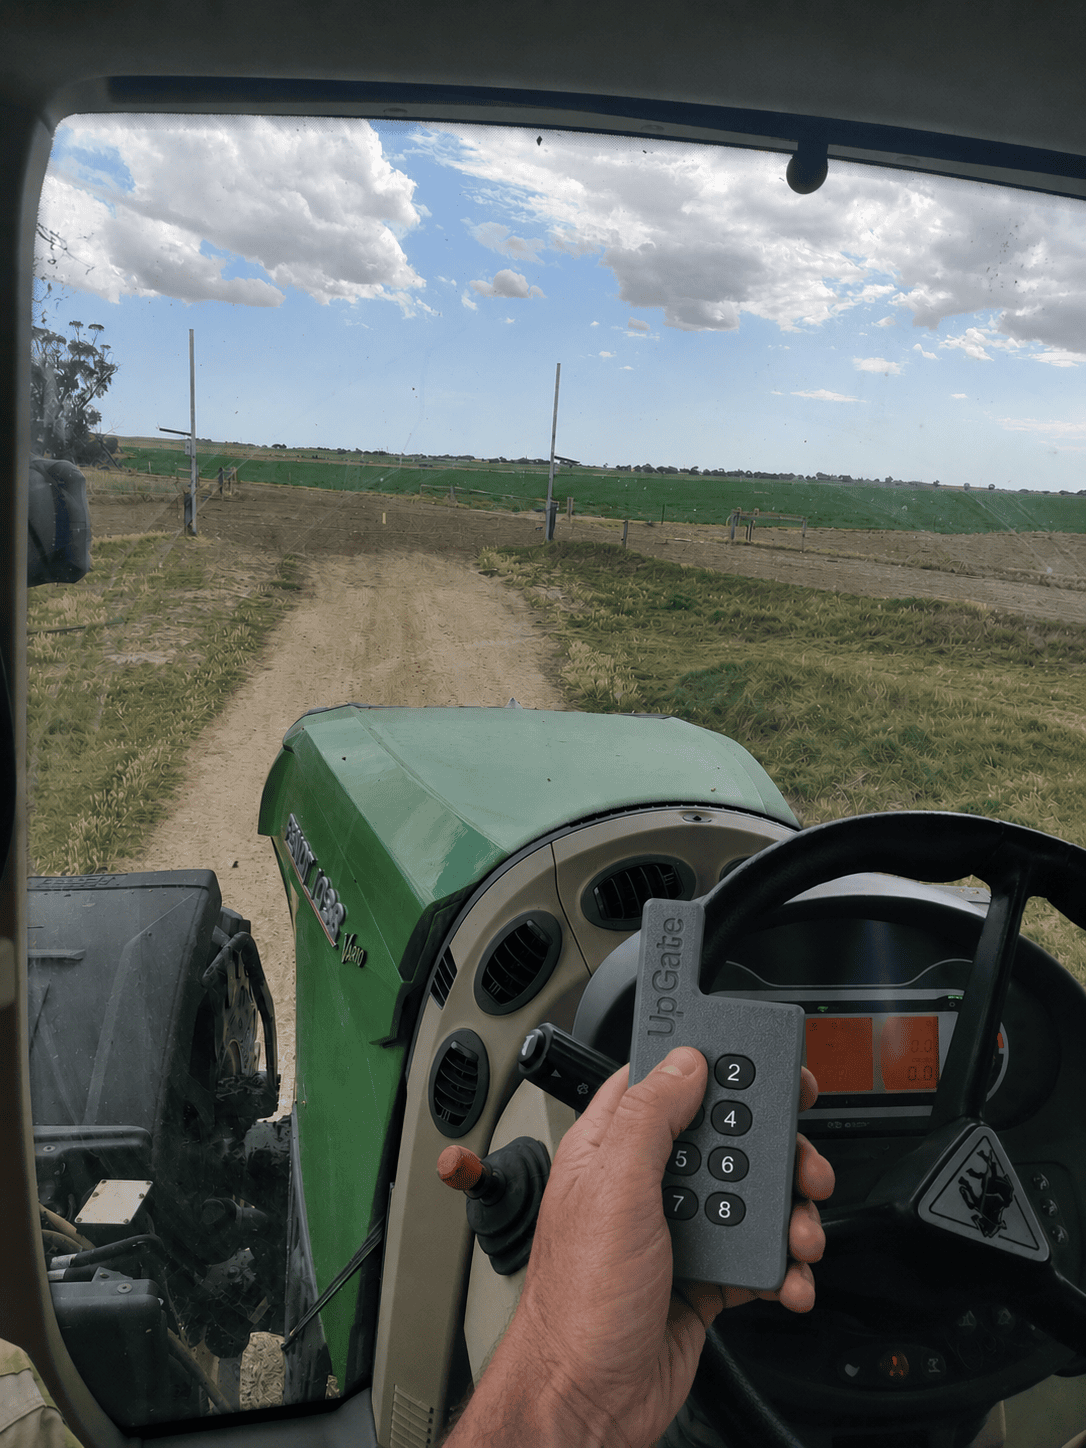
Set the strand count, lowest stop position, gateway width and Standard or Large model in the control menu, then pair each remote button to its labelled UpGate.
Stage 6
Test before use
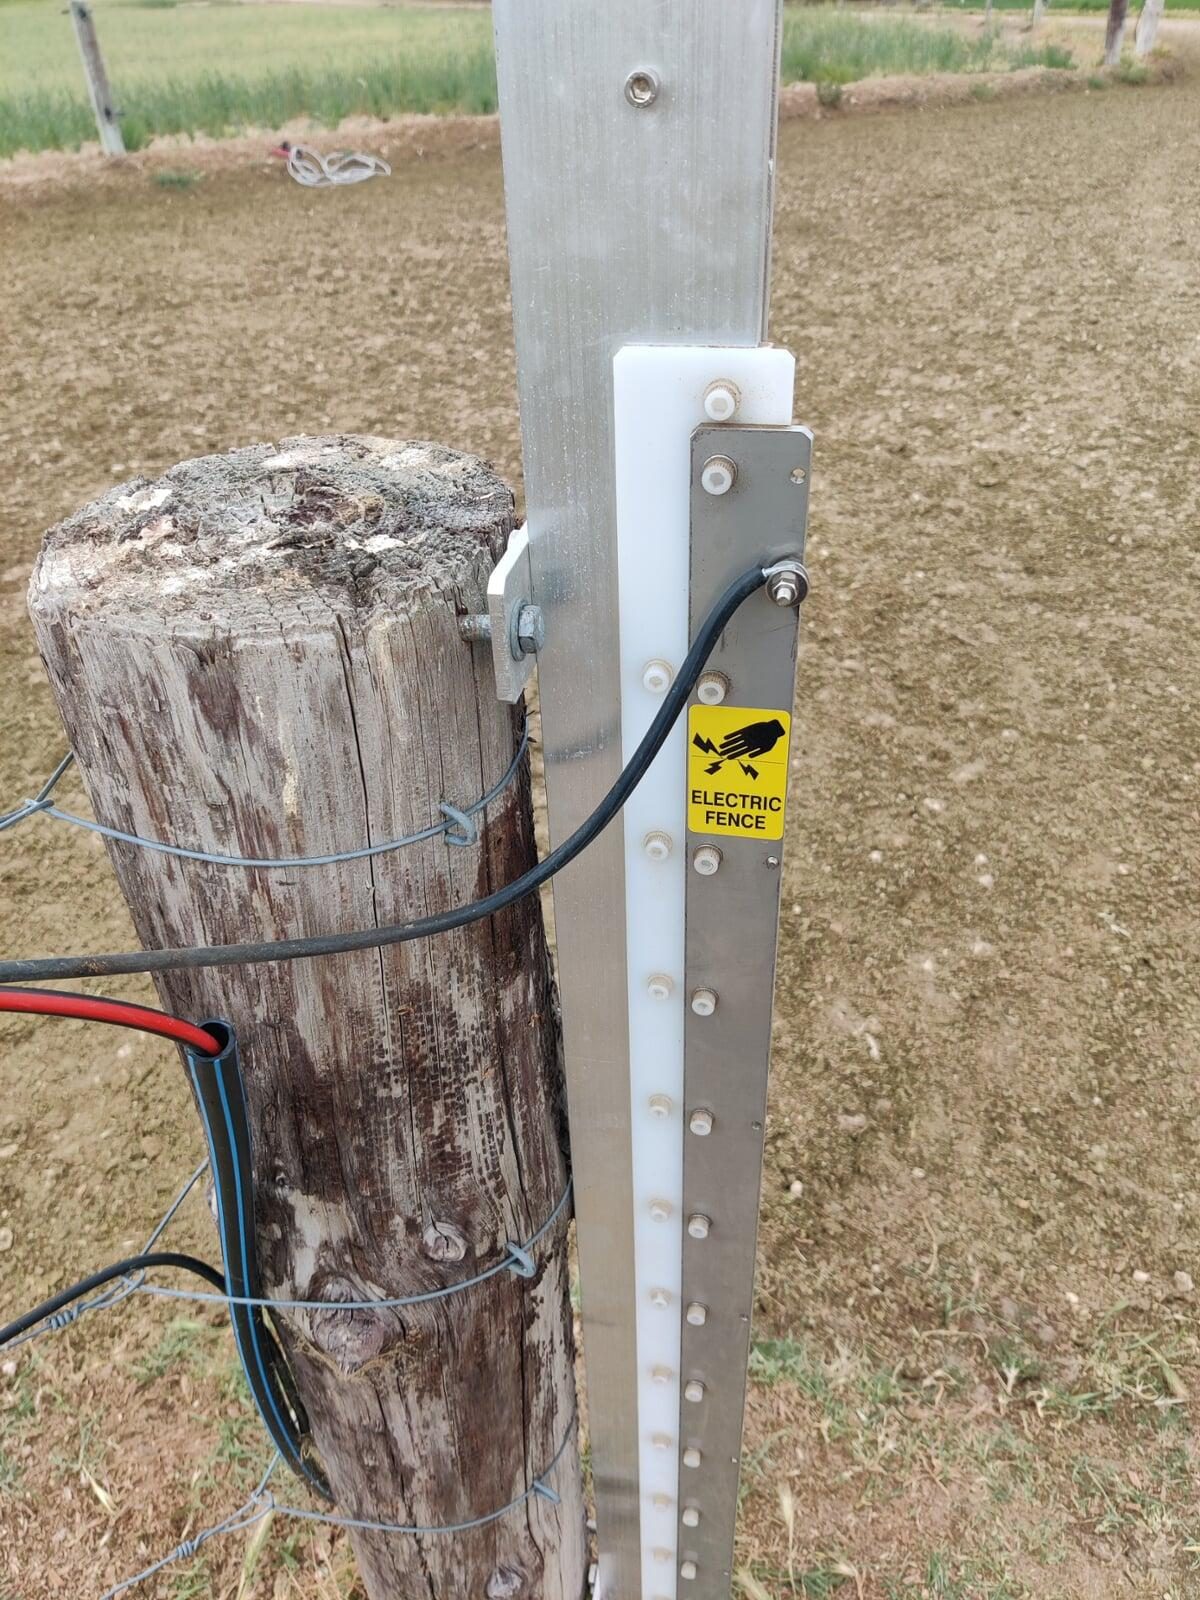
Run 5 test operations while the electric fence is isolated. When operation is clear and fault-free, reconnect the compliant electric fence and check for short circuits.
Safety checks are part of the installation
The connected animal electric fence must comply with AS/NZS 3014. Keep the gateway isolated during installation, display required warnings where unaware users may approach, and never operate unless the opening is clear.
Drive beneath the raised cords below 10 km/h, keep at least 300 mm clearance above the vehicle, and close the UpGate when winds above 80 km/h are expected.
What happens after installation?
- Visually confirm the gateway is fully closed before leaving
- Follow the six-monthly checks in the manual
- Complete the two-year maintenance tasks
- Keep proof of purchase for the 24 month parts-only warranty
- Contact ControlAg before returning any warranty part
Want ControlAg to check your gateway before you install?
Send the post spacing, post photos, tallest vehicle and sun exposure. We will help you identify the right questions before installation.